Repairing a Leak without removing tiles
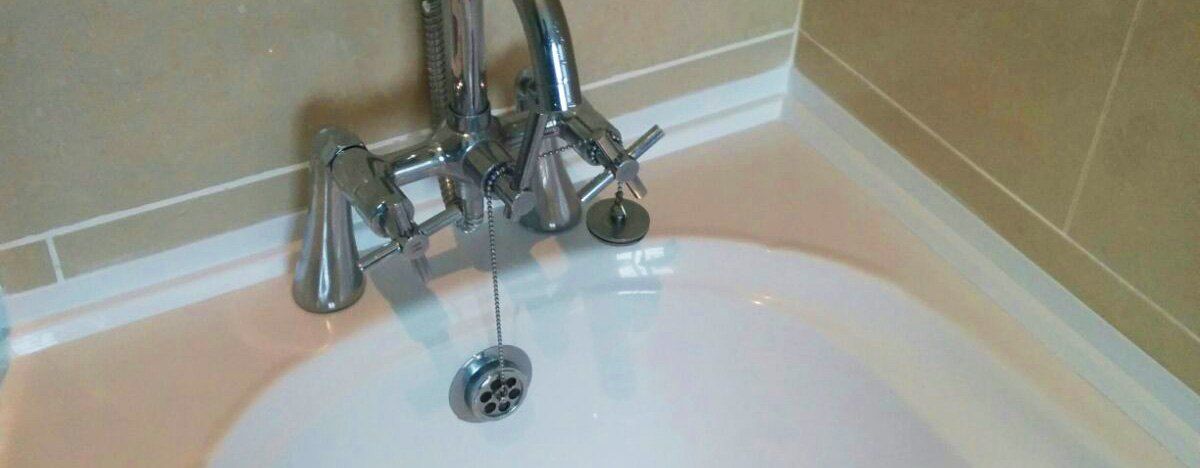
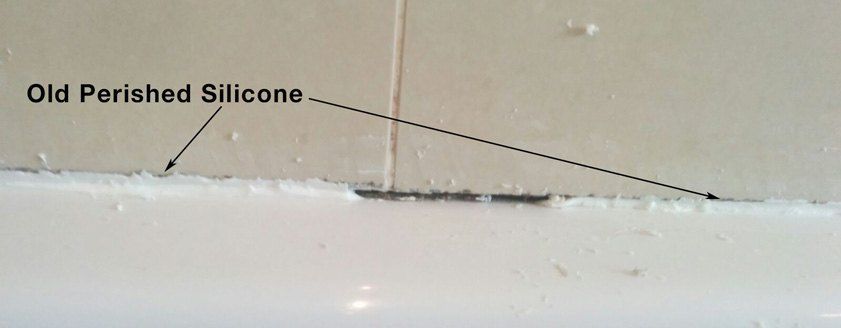
This post comes to us from a client who was fed up with exposed silicone perishing and causing a leak to appear on the kitchen ceiling. Without the appetite to remove the bottom row of tiles we suggested a Sealux Reg 15 kit to sort out this problem. The tiles are over the ledge of the bath so effectively he could choose a narrow trim such as the 15mm wide Sealux Reg15.
As this is a repair job and the bath/shower is in everyday use we always suggest the following when installing:
Unlike the original silicone joint (that was always going to fail) all Sealux Sealing Trims (Sealux15, Sealux20, Sealux25) have a patented bond breaker tape pre-applied to the underside of the outer leg. (see how the patented bond breaker works by looking at this video This prevents the Sealux-N silicone bonding at certain parts to the trim and effectively allows it to stretch when there is deflection on the bath or shower tray. Coupled with the corrosive effect of detergents on exposed silicone, these are the two fundamental causes why the exposed silicone joint will fail over time. If you would like to read more technical information on this topic please check out this excellent article on joint movement
Following the instructions on how to fit the seal and laying a solid bead of silicone along the tiles and ledge the trim is pressed down onto the bath ledge and simultaneously against the tiles. Sealux-N silicone should ooze out at the top of the trim, this is skimmed off with the spatula.
Footnote: Removing tiles is a good solution if you have plenty of spare original tiles at hand and you can fit the up-stand part of the trim behind the tile. Aesthetically it looks better. However as this was not an option for this installer the result is pretty neat nevertheless.